
Setting up Minecraft Bedrock Edition Server
My first time playing Minecraft in Realm was in Windows Central Community realm, it was my first experience playing real online multiplayer game. It was exciting and fun playing with other people in the realm. I used to play a lot in the realm but when the world started to expand the server started to lag a lot because of tons of Redstone contraption. We started to talk about moving to a self-hosted server rather than using Mojang's realm but we couldn't find a way to host the server. Fast forward a year and here we are hosting a Minecraft Bedrock Edition server.
There are various options for you to host Minecraft server but the one I choose is MCPESever by CodeHz.
Setting up the server
I'm running Ubuntu 17.10 on the server on top of which Minecraft Server Launcher is running. You will at least need SSH access to your server. Once you have successfully logged in you can start downloading some packages and MCPEServer.
First you will want type the following command in terminal.
sudo apt install jq
It will download necessary packages require for you to proceed forward. Now you will need to download the MCPEServer.
wget $(curl -s https://api.github.com/repos/codehz/mcpeserver/releases/latest|jq -r '.assets[0].browser_download_url')
Once the download is completed, you will need to change permissions on the file before you can work with it.
chmod +x mcpeserver
Now you will need to download the core binary for Minecraft server. You can do by
./mcpeserver download
Now for the next step, you will need to have a .apk file of Minecraft. Once you have apk file for Minecraft you need to upload it to your server and then unpack assets from Minecraft using following command
./mcpeserver unpack -apk filename.apk
Don't forget to replace filename with actual file name for your apk file. Once you have done all of the above successfully you need to open 19132 port on your server to allow MCPEServer to communicate with clients that will connect to the server. Also make sure that port 19132 is opened as UDP port and not TCP, that is what I did and wondered why I can't connect to the server. So make sure it's UDP port 19132.
Now you are ready to start your server but before that start a Linux Screen it allows you to run a long running process without maintaining an active shell session. You will need it because you don't want the server to stop when you disconnect your SSH session. So type
screen
to start a session and then type
./mcpeserver run
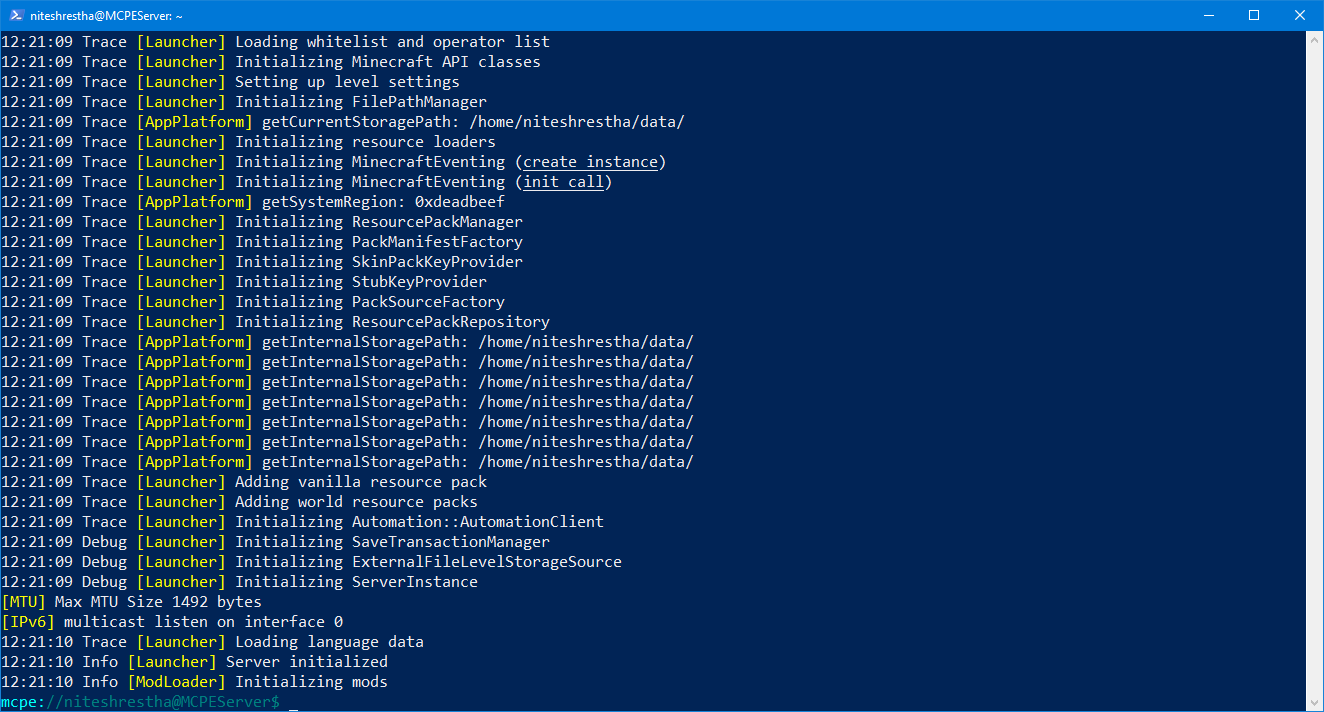
Now your server should be up and running and you should see the following screen.
Making the world you want
You should be good to go in Minecraft and connect to your server from Server tab in game. But the world as it is not fun to begin with as you spawn inside a dark cave so you will want to being with some good seed. You will need to edit server.properties file in /data/server.properties you might want to use vim to edit the file. First change your directory to data with cd data then vim server.properties
Full list of different properties is listed in the wiki. If you are editing the server.properties after you already have a world then you will need to delete the existing world for server.properties to come into effect. You can do so by removing world folder from games/com.mojang/minecraftWorlds
Adding some flavor the world with mods
If you fancy some mods developer has also made some mods that you can find here and he also makes it easier to apply his mods in server. You can view all the mods you can apply in server using
./mcpeserver mods --remote

and you can download and apply mod you want using
./mcpeserver mods --download {mod_name}
replace mod_name with the mod you want to download for example ping mod
./mcpeserver mods --download codehz/ping
Uploading the existing world
Just put your world directory to games/com.mojang/minecraftWorlds/
One last thing you will need to do is to edit the server.properties to replace the value of level-dir to match the actual name of your world.
That is all for this guide. Massive thanks to HongyiMC and CodeHz for helping me with setting up my server and answering my questions.